Ingredients
– 1 1/2 cups whole rolled oats
– 1 cup creamy natural peanut butter
– 1/4 cup ground flaxseed
– 1/4 cup honey
– 2 scoops protein powder
– 1 teaspoon vanilla extract
– 6 tablespoons mini chocolate chips
Instructions
1-First Step: Gather and measure everything Start by measuring out all of your ingredients before mixing. You will need 1 1/2 cups whole rolled oats, 1 cup creamy natural peanut butter, 1/4 cup ground flaxseed, 1/4 cup honey, 2 scoops protein powder, 1 teaspoon vanilla extract, 6 tablespoons mini chocolate chips, and a pinch of your optional ingredient. Having everything ready makes the process smooth and fast. Choose a large mixing bowl so you have room to stir without spilling. If your peanut butter is very thick, let it sit at room temperature for a few minutes first so it blends more easily.
2-Second Step: Mix the base ingredients Add the oats, peanut butter, ground flaxseed, honey, protein powder, vanilla extract, and mini chocolate chips to the bowl. Stir well until the mixture starts to come together and looks evenly combined. A sturdy spoon or spatula works well here, and you can switch to clean hands at the end if needed. The mixture should feel thick and sticky, but still rollable. If it seems too dry, add water 1 teaspoon at a time until it holds together. If it feels too wet, stir in a little more oats or a spoonful of protein powder.
3-Third Step: Check the texture before shaping This is the part that makes a big difference. Pinch a small amount of the mixture and press it between your fingers. If it stays together without crumbling, you are ready to roll. If it falls apart, the dough needs a touch more moisture. If it sticks heavily to your hands, give it a little more dry ingredient and mix again. The best texture is soft enough to shape, but firm enough to keep its round form after chilling. If you want the mixture to feel extra flavorful, this is the time to add your pinch of optional ingredient, such as cinnamon or a tiny bit of sea salt.
4-Fourth Step: Portion the mixture evenly Use a 2-tablespoon cookie scoop to portion the mixture into small mounds. This gives you evenly sized protein balls and helps the batch make about 20 balls total. If you do not have a cookie scoop, you can use a regular spoon, but the scoop makes the process faster and cleaner. Once portioned, place each scoop onto a parchment-lined tray or plate. Leaving a little space between them helps keep them easy to roll.
5-Fifth Step: Roll into smooth balls Wash or lightly dampen your hands to keep the dough from sticking too much. Take each portion and roll it gently between your palms until it forms a smooth ball. Do not worry if they are not perfectly round. The homemade look is part of the charm. If the mixture warms up and gets sticky, place it in the fridge for 10 to 15 minutes before continuing. That quick chill often makes shaping much easier.
6-Sixth Step: Chill until firm Place the rolled balls in the refrigerator for 1 to 2 hours until firm. This step helps them set and improves the texture, especially if you want them to hold up well in lunchboxes or snack bags. The chilling time also helps the flavors settle together. For best results, keep the tray uncovered for the first 20 to 30 minutes if your fridge is crowded, then cover loosely once the balls feel stable.
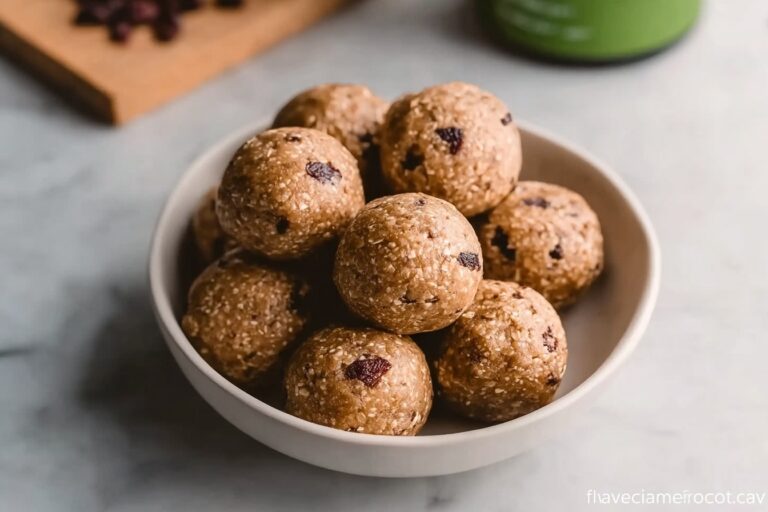
7-Final Step: Serve and enjoy Once firm, transfer the no bake protein balls to an airtight container or serve them right away. They make a handy snack before or after workouts, between meals, or anytime you want something sweet and satisfying without turning on the oven. This recipe makes 20 balls, with a prep time of 10 minutes, chill time of 1 hour, and total time of 1 hour 10 minutes.
Last Step:
Please leave a rating and comment letting us know how you liked this recipe! This helps our business to thrive and continue providing free, high-quality recipes for you.Notes
🍯 Swap honey for maple syrup to make it vegan-friendly.
🥜 Use almond or sunflower seed butter instead of peanut butter for nut-free options.
🧊 Freeze extras for up to 3 months – perfect for meal prep!
- Prep Time: 10 minutes
- Chill Time: 1 hour
- Cook Time: 0 minutes
- Category: Snacks
- Method: No Bake
- Cuisine: American
- Diet: Vegetarian, High Protein
Nutrition
- Serving Size: 1 ball
- Calories: 152 kcal
- Sugar: 8g
- Sodium: 62mg
- Fat: 9g
- Saturated Fat: 2g
- Unsaturated Fat: 7g
- Trans Fat: 0.01g
- Carbohydrates: 14g
- Fiber: 2g
- Protein: 5g
- Cholesterol: 3mg