Ingredients
– ½ cup softened butter
– 2 cups creamy peanut butter
– 3 ½ cups powdered confectioners sugar
– 1 ½ teaspoons vanilla extract
– 2 cups (about 12 ounces) chocolate chips or chunks
– 1 tablespoon butter or coconut oil
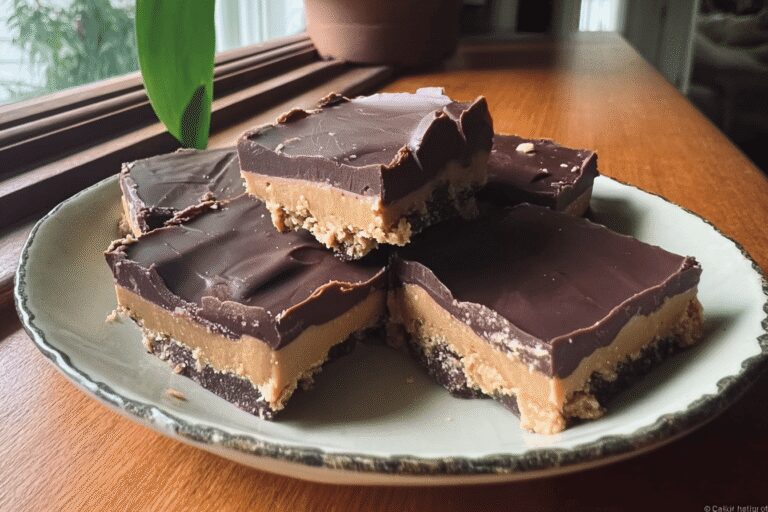
– peanut butter layer provides creaminess and protein
– chocolate layer adds smooth topping
Instructions
1-Gathering and Prepping Ingredients: Getting started with Peanut Butter Buckeye Bars is all about organization first, measure out your ingredients like ½ cup softened butter, 2 cups creamy peanut butter, 3 ½ cups powdered confectioners sugar, and 1 ½ teaspoons vanilla extract. This prep step makes the process smooth and fun, even if you’re a beginner. Once everything is ready, combine these in a bowl and beat them until you get that perfect smooth mixture, then press it firmly into a lined 9×13-inch pan.
2-Mixing and Forming the Base: Now, dive into the mixing: In a large bowl, blend the peanut butter with the softened butter and vanilla extract until it’s creamy and lump-free. Gradually add in the powdered sugar, stirring as you go, to create a thick, dough-like consistency that’s easy to work with. Once mixed, spread this evenly into your prepared pan and pop it in the fridge for about 30 minutes to firm up it’s a game-changer for the texture.
3-Adding the Chocolate Topping: While your base chills, focus on the chocolate layer: Melt 2 cups of chocolate chips or chunks with 1 tablespoon of butter or coconut oil until it’s glossy and smooth. You can do this in the microwave or on the stove stir every 20 seconds if using the microwave to prevent burning. Once melted, pour it evenly over the chilled peanut butter base and smooth it out with a spatula for that perfect finish.
4-Adding the Chocolate Topping: Let the bars sit at room temperature for 30-60 minutes so the chocolate sets just right. For the best results, refrigerate them for at least 1 hour before you slice. When cutting, aim for when the chocolate has thickened but isn’t fully hard to avoid cracking it’s a tip that makes all the difference. Learn more about melting chocolate effectively to perfect this step.
5-Final Touches and Serving: After chilling, it’s time to cut your bars into neat squares and serve them up. This recipe yields a batch that’s ideal for sharing, and you might find yourself making it again soon. Adaptations like vegan swaps keep it versatile, ensuring it’s a hit for everyone from students to celebration planners.
6-Final Touches and Serving: These steps make baking approachable and enjoyable, with personal tips to guide you along. For instance, if you’re in a hurry, check that your chocolate isn’t too hot when you pour it this helps with even setting.
Last Step:
Please leave a rating and comment letting us know how you liked this recipe! This helps our business to thrive and continue providing free, high-quality recipes for you.Notes
⏳ For easy slicing, cut the bars when the chocolate is firm but not fully hardened.
❄️ Keep the bars refrigerated to maintain freshness and texture.
🥥 Use coconut oil instead of butter in the chocolate layer for a dairy-free option.
- Prep Time: 10 minutes
- Chilling/Setting Time: 1 hour 30 minutes
- Category: Dessert
- Method: No-bake
- Cuisine: American
- Diet: Vegetarian
Nutrition
- Serving Size: 1 bar
- Calories: 320 kcal
- Sugar: 30 g
- Sodium: 120 mg
- Fat: 22 g
- Saturated Fat: 7 g
- Unsaturated Fat: 12 g
- Trans Fat: 0 g
- Carbohydrates: 28 g
- Fiber: 2 g
- Protein: 7 g
- Cholesterol: 10 mg