Ingredients
– ¼ cup flour
– 3 tablespoons sugar
– 1/8 teaspoon cinnamon
– ¼ teaspoon pumpkin pie spice
– ¼ teaspoon baking powder
– A pinch of salt
– 2 tablespoons milk
– 1 tablespoon pumpkin puree
– 1 tablespoon melted butter
– A dash of vanilla extract
– 1 tablespoon chocolate chips
– Whipped cream for serving
Instructions
1-Step 1: Prepare Your Mug Start by selecting a microwave-safe mug that holds 10-12 ounces. This size gives your cake plenty of room to rise without overflowing. Lightly grease the inside with a small amount of butter or cooking spray to prevent sticking. A ceramic or glass mug works best because these materials heat evenly in the microwave.
2-Step 2: Mix the Dry Ingredients Add the following dry ingredients directly into your mug: Use a fork or small whisk to blend everything together. Make sure there are no lumps of baking powder or spices hiding at the bottom. This quick mix ensures your flavors distribute evenly throughout the cake.
3-Step 3: Add Wet Ingredients Pour in 2 tablespoons of milk, 1 tablespoon of pumpkin puree, 1 tablespoon of melted butter, and a dash of vanilla extract. Now stir everything together until you have a smooth batter. Take your time to scrape the bottom and sides of the mug with your fork, catching any dry ingredients that might be hiding there. The batter should be thick but pourable, similar to traditional cake batter. If it seems too thick, add another teaspoon of milk. Too thin? A sprinkle more flour will do the trick.
4-Step 4: Fold in Chocolate Chips If you’re adding chocolate chips, now’s the time to fold in 1 tablespoon of them. Gently stir just a few times to distribute them throughout the batter without overmixing. The chips will sink slightly during cooking, creating a delicious chocolate layer toward the bottom of your cake.
5-Step 5: Microwave Your Cake Place your mug in the center of the microwave and cook on high power. Here’s where timing becomes important: Start with 70 seconds and check your cake. The top should look just set but still slightly shiny and moist. This shininess means your cake will be soft and tender rather than dry. If the center still looks wet and raw, add 15-25 seconds more. Remember that microwave cooking continues even after the timer stops. The residual heat will finish setting your cake as it cools, so it’s better to slightly undercook than overcook.
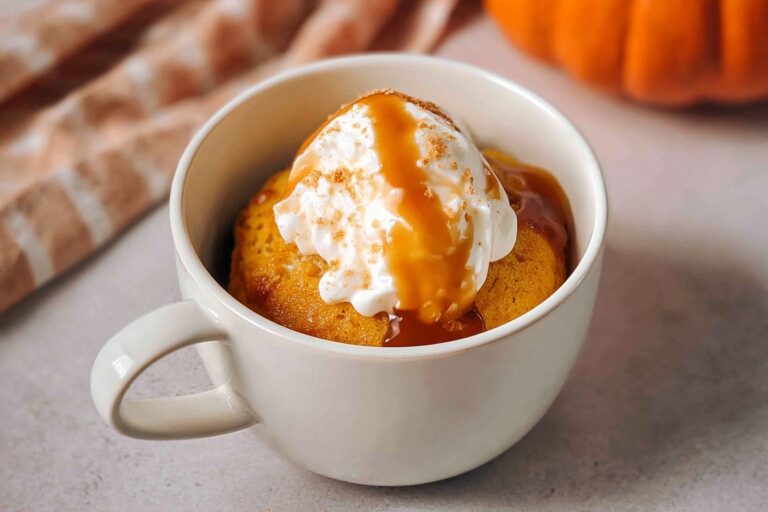
6-Step 6: Rest and Serve Let your quick microwave pumpkin mug cake rest for 1-2 minutes before eating. This cooling period allows the texture to set properly and prevents burning your mouth on molten chocolate chips or steam trapped inside. For the ultimate experience, top your warm cake with a generous dollop of whipped cream or a scoop of vanilla ice cream. The contrast between the warm, spiced cake and cool, creamy topping is absolutely divine!
Last Step:
Please leave a rating and comment letting us know how you liked this recipe! This helps our business to thrive and continue providing free, high-quality recipes for you.Notes
⚡ Start at 70 seconds; stop when shiny for soft, gooey center – microwaves vary.
🌾 Use 1:1 gluten-free flour swap for gluten-free delight.
🍫 Add pecans instead of chips or whipped cream post-cook for variety.
- Prep Time: 5 minutes
- Cook Time: 2 minutes
- Category: Dessert
- Method: Microwave
- Cuisine: American
- Diet: Vegetarian
Nutrition
- Serving Size: 1 mug cake
- Calories: 454 kcal
- Sugar: 47g
- Sodium: 209mg
- Fat: 17g
- Saturated Fat: 11g
- Unsaturated Fat: 4g
- Trans Fat: 0.5g
- Carbohydrates: 73g
- Fiber: 1g
- Protein: 5g
- Cholesterol: 34mg