Ingredients
1 cup plus 2 tablespoons unsalted butter, softened (254 grams) This provides the rich base and tender crumb for the cookies.
1 can sweetened condensed milk (396 grams) Adds sweetness, moisture, and a creamy texture that defines these treats.
2 1/4 cups self-rising flour (287 grams) Gives the cookies their light and airy structure, with built-in leavening for easy baking.
1/2 cup cocoa powder (43 grams) Infuses a deep chocolate flavor, making each cookie irresistibly chocolatey.
Instructions
1-Getting started: Getting started with Sweetened Condensed Milk Chocolate Thumbprint Cookies begins with preheating your oven to 350ºF, which sets the stage for even baking. Line a baking sheet with parchment paper to keep things neat and prevent sticking. Once your ingredients are measured and ready, you’re all set for a smooth process.
2-Mixing the dough: In a mixing bowl, beat the softened butter for about 2 minutes until it’s creamy and smooth. Add the sweetened condensed milk and mix until fully combined, creating a luscious base for your dough. Gradually incorporate the self-rising flour and cocoa powder, sifting the cocoa first if it’s lumpy to avoid any gritty bits in your cookies.
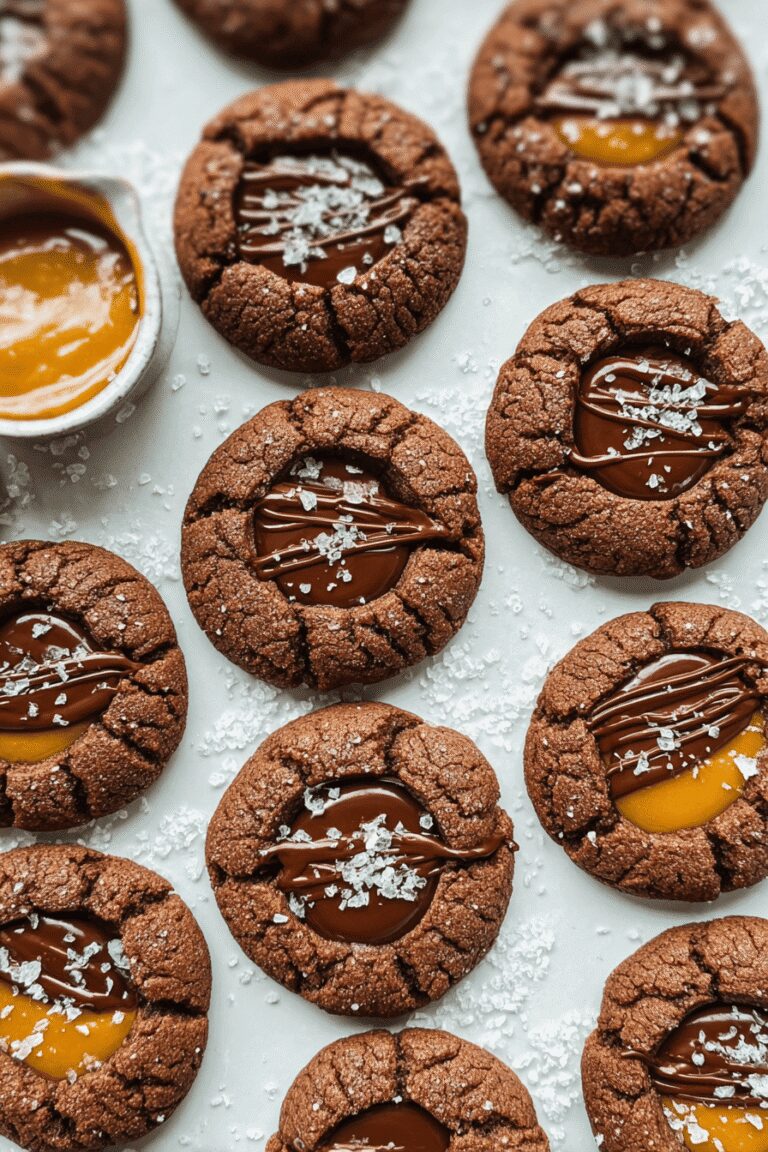
3-Shaping and chilling: Scoop the dough into even balls and place them on your prepared baking sheet. Chill these balls in the fridge for at least 10 minutes or overnight for better texture and ease of handling. After chilling, use a teaspoon to make a dent in the center of each ball and fill it with options like dulce de leche or jam for that classic thumbprint effect.
4-Baking and finishing touches: Bake the cookies for 15 to 17 minutes until the edges are set, keeping in mind they’ll be soft at first but will firm up as they cool. For an extra touch, melt about 1/4 cup of chocolate chips in short 15-second bursts, stirring between each, then drizzle it over the cooled cookies and add a sprinkle of sea salt. If you’re looking for more dessert ideas, try this no-churn ice cream recipe to pair with your cookies for a complete treat.
Last Step:
Please leave a rating and comment letting us know how you liked this recipe! This helps our business to thrive and continue providing free, high-quality recipes for you.Notes
❄️ Chill dough before shaping for easier handling and better texture.
🥄 Sift cocoa powder if lumpy to avoid lumps in the dough.
⏰ Avoid overbaking; cookies should be slightly soft when removed from oven and firm up while cooling.
- Prep Time: 10 minutes
- Chilling Time: 10 minutes (or overnight)
- Cook Time: 17 minutes
- Category: Dessert
- Method: Baking
Nutrition
- Calories: 50 kcal per cookie