Ingredients
– 12 ounces canned luncheon meat (Spam)
– 1/4 cup oyster sauce for the marinade
– 1/4 cup soy sauce for the marinade
– 1/2 cup sugar for the marinade
– about 5-6 sheets nori roasted seaweed for wrapping
– 6 cups cooked sushi rice without vinegar for stickiness and shape
– optional furikake seasoning
Instructions
1-First Step: Slice and set up your workstation Start by slicing the canned luncheon meat into 8-10 slices. I like making them relatively even so each spam musubi has the same flavor and bite. Then set up a plate for marinating, a skillet for frying, and a cutting board for assembly.
2-Second Step: Make the marinade and marinate In a bowl, combine 1/4 cup oyster sauce, 1/4 cup soy sauce, and 1/2 cup sugar. Stir until the sugar dissolves as much as possible. Add your sliced luncheon meat and marinate for 15 minutes.
3-Third Step: Drain and fry until browned and slightly crispy After marinating, drain the slices. Fry on medium heat until browned and slightly crispy. Because every skillet runs a little differently, watch for edges turning golden and a firmer texture. While the slices cook, keep your sushi rice covered so it stays sticky and easy to press.
4-Fourth Step: Cut nori and prepare your rice shaping Lay a strip of nori seaweed shiny side down on a cutting board. Cut nori into halves or thirds so it wraps neatly around your musubi mold. Wet your fingertips with water before pressing rice, which helps prevent sticking.
5-Fifth Step: Press rice into the mold, then add furikake Place your musubi mold in the center of the nori strip. Press about 1 to 1 1/2 inches of sushi rice into the mold. If you’re using furikake seasoning, sprinkle it over the rice layer before the meat goes on top.
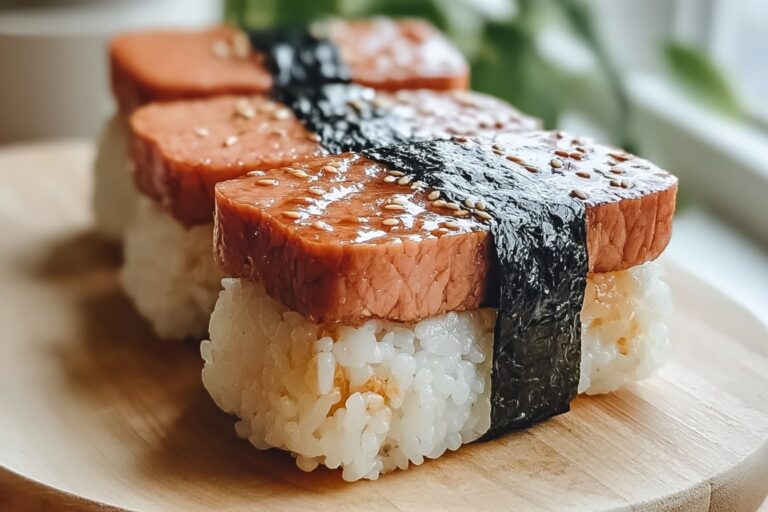
6-Sixth Step: Top with fried luncheon meat Remove the mold carefully. Place a fried luncheon meat slice on top of the rice. This is where the classic look starts to show, especially if you keep the rice layer thick enough to hold the meat in place.
7-Final Step: Wrap the nori and seal for clean handheld bites Wrap one side of the nori over the meat, sealing it with water if needed. Then wrap the other side to complete the package. Press gently so the nori adheres and the musubi stays together when you pick it up.
Last Step:
Please leave a rating and comment letting us know how you liked this recipe! This helps our business to thrive and continue providing free, high-quality recipes for you.Notes
🔥 Fry Spam until edges crisp for maximum flavor and texture.
🤲 Wet hands and mold when packing rice to prevent sticking.
❄️ Wrap tightly in plastic while warm before refrigerating to keep rice moist.
- Prep Time: 25 minutes
- Marinating: 15 minutes
- Cook Time: 5 minutes
- Category: Snacks
- Method: Stovetop
- Cuisine: Hawaiian
Nutrition
- Serving Size: 1 musubi
- Calories: 317 kcal
- Sugar: 13g
- Sodium: 1210mg
- Fat: 12g
- Saturated Fat: 4g
- Unsaturated Fat: 8g
- Trans Fat: 0g
- Carbohydrates: 43g
- Fiber: 1g
- Protein: 9g
- Cholesterol: 30mg