Ingredients
– Wheat flour-based takoyaki batter
– Octopus
– Tempura scraps
– Pickled ginger
– Green onion
– Takoyaki sauce
– Japanese mayonnaise
– Dried seaweed flakes
– Bonito flakes
Instructions
1-First Step: Preheat your takoyaki pan and prep fillings Heat the takoyaki pan until it is hot enough to sizzle when batter touches it. Oil the molded wells lightly so the takoyaki batter releases easily. Mince or dice your octopus, and set out tempura scraps, pickled ginger, and green onion so you can add them fast.
2-Second Step: Mix your wheat flour-based takoyaki batter Prepare a wheat flour-based batter and aim for a pourable consistency. The batter is the heart of homemade takoyaki because it forms the crisp shell when it cooks in the rounded molds. If you want thicker balls, let the batter rest for a minute so flour hydrates.
3-Third Step: Pour batter into the rounded molds Pour batter into each well, filling generously. This matters because generous batter helps create even coverage around the mold edges, which supports a uniform round shape as you cook.
4-Fourth Step: Add fillings to the batter Place a small amount of octopus, tempura scraps, pickled ginger, and green onion into each partially filled ball. Keep the portions tight so the centers cook through instead of leaking or staying soft.
5-Fifth Step: Pour more batter to cover the fillings Add a little more batter so the fillings are tucked inside. The goal is a complete shell that will crisp when you start turning.
6-Sixth Step: Watch for set edges, then start turning Cook until the bottoms look firm and lightly golden. Turn the balls with a pick, gently flipping so the batter forms a continuous, rounded shape. Continuous turning is key for a crisp crust and even browning.
7-Seventh Step: Cook to a consistent golden-brown color Continue turning as needed until all sides are evenly browned. For electric takoyaki pans, you may adjust heat slightly to avoid burning while still getting that crisp exterior.
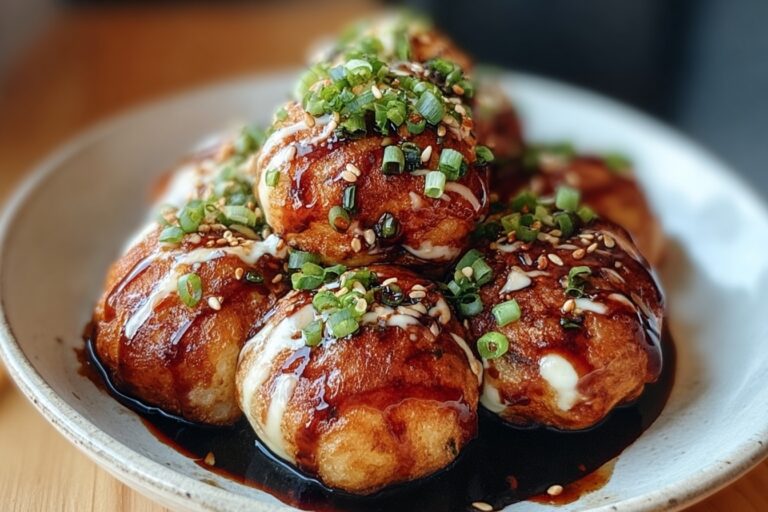
8-Final Step: Brush with takoyaki sauce and mayonnaise, then top Remove the cooked takoyaki balls to a plate. Brush each with takoyaki sauce and Japanese mayonnaise, then sprinkle dried seaweed flakes and bonito shavings. Serve right away so the toppings can bloom on the hot surface.
Last Step:
Please leave a rating and comment letting us know how you liked this recipe! This helps our business to thrive and continue providing free, high-quality recipes for you.Notes
🔥 Oil pan generously; re-oil between batches for non-stick crispy balls.
🪮 Turn constantly with picks for perfect round shape and even crust.
🐙 Use pre-boiled octopus; fresh or canned works for tender chew.
- Prep Time: 15 minutes
- Batter Resting: 15 minutes
- Cook Time: 20 minutes
- Category: Snacks
- Method: Pan-Fry
- Cuisine: Japanese
- Diet: Pescatarian
Nutrition
- Serving Size: 6-8 balls
- Calories: 280 kcal
- Sugar: 5 g
- Sodium: 800 mg
- Fat: 10 g
- Saturated Fat: 2 g
- Unsaturated Fat: 8 g
- Trans Fat: 0 g
- Carbohydrates: 35 g
- Fiber: 2 g
- Protein: 12 g
- Cholesterol: 100 mg